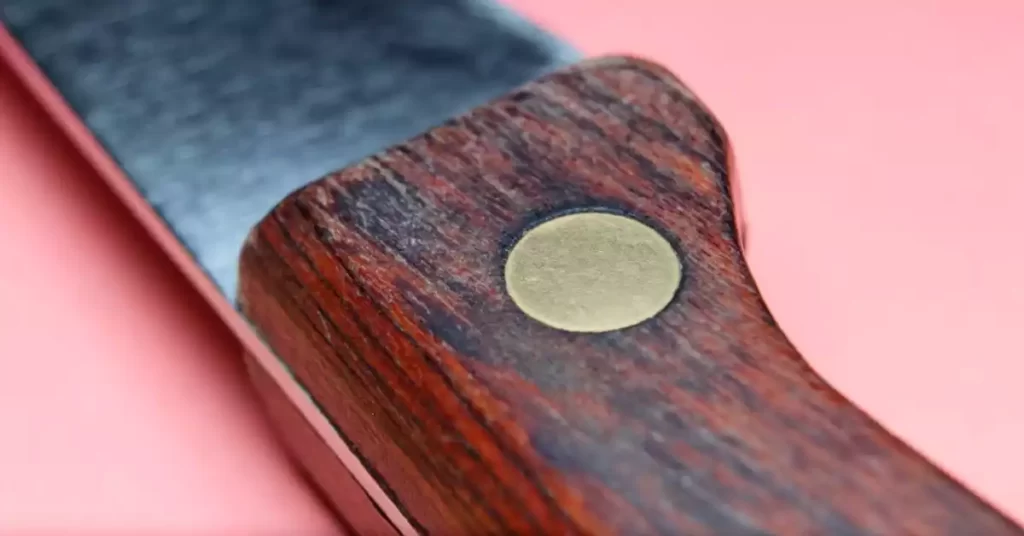
Knives are essential tools in our daily lives, from culinary exploits to crafting and outdoor adventures. The structure of a knife includes a blade, a handle, and often, handle pins to secure the two together. These handle pins, while seemingly minor, play a significant role in the knife’s overall functionality and durability.
However, there may be instances when these handle pins need to be removed, for reasons such as handle replacement, blade replacement, or even deep cleaning of the knife. The removal process, while requiring care and precision, is a task that you can carry out at home with some knowledge and the right tools.
The journey to removing knife handle pins begins with understanding the role of these pins and the preliminaries before you undertake the task. Let’s explore the world of knife maintenance with a focus on removing handle pins.
Preliminary Steps Before Pin Removal
Before launching into the pin removal process, it’s crucial to take a few preliminary steps. As with any activity involving tools and sharp objects, safety should be your primary concern. Ensure you’re working in a well-lit, comfortable environment with a stable surface, like a workbench or a sturdy table.
Safety Precautions
Equip yourself with the necessary protective gear. Wear thick, cut-resistant gloves to protect your hands, not only from the blade but also from any potential slips with the tools. Safety glasses are also advisable, as the pin removal process may cause small metal shavings or particles to fly up, which could cause injury to your eyes.
Necessary Tools
Next, prepare the tools you’ll need for the job. While the exact tools depend on the method you’re going to use, some common ones include:
- Hammer and Punch: These are used in one of the most traditional methods of pin removal. The punch should be smaller in diameter than the pin you’re trying to remove. A soft-face hammer would be ideal, as it’s less likely to cause damage.
- Drill and Bits: This method is often used for stubborn pins, or when you want to be especially cautious to avoid damaging the handle or the blade. The bit you choose should be slightly smaller than the pin.
- Soft Cloth: This is for cleaning the area around the pin before and after removal. Ensuring the knife is clean helps you see what you’re doing more clearly and avoids getting dirt or debris in the pin holes.
- Protective Mat or Block: This is to protect your work surface. When using the hammer and punch method, the pin will be pushed out the other side of the handle and could potentially damage your work surface.
Methods for Removing Knife Handle Pins
The method you choose for removing the pins will depend on your comfort level with the tools, the type of knife, and the pin itself. Some pins may be stubborn due to rust or long periods without movement. Here, we’ll discuss two popular methods for pin removal.
Method 1: Hammer and Punch
This method, though traditional, is straightforward and effective. You’ll need a hammer and a punch for this method.
Tool Preparation
To prepare, place the knife on your protective block or mat with the pin you want to remove facing upwards. Position the punch on the pin. The punch should be smaller in diameter than the pin to avoid damaging the handle.
Process Description
Hold the punch firmly and tap it gently with the hammer. Start lightly and gradually increase the force until the pin starts to move. Remember, the goal is not to force the pin out with one strong hit, but to encourage it out slowly to prevent any damage to the handle or the blade.
Post-Removal Steps
After you’ve successfully removed the pin, use the soft cloth to clean the area. There might be some residue or metal shavings from the pin that need to be cleaned up.
Method 2: Drill and Bits
If you find the idea of using a hammer and punch daunting or if the pin is particularly stubborn, you can use a drill and bit.
Selecting the Right Drill Bit
The drill bit you select should be a size smaller than the pin. This is to ensure you’re only drilling the pin and not damaging the handle. If you’re unsure about the size, it’s better to start with a smaller bit. You can always move up in size if needed, but a hole that’s too big cannot be reversed.
Drilling Process
Place the knife securely on your work surface, with the pin facing upwards. Position the drill bit over the pin, turn on the drill and press down slowly. The drill will start to eat away at the pin, causing it to disintegrate and eventually fall out. This method takes a bit longer than the hammer and punch method, but it’s often safer and has less risk of causing damage to the knife.
Safety Tips and Considerations
Remember to always wear safety glasses when drilling. Metal shavings can fly up unexpectedly, and it’s essential to protect your eyes. Also, check the pin frequently during the drilling process. Over-drilling can cause unnecessary damage to the knife.
Possible Challenges and Solutions
Like any maintenance task, removing knife handle pins can come with its own set of challenges. However, with a little bit of knowledge and preparation, these can be easily overcome.
Stuck or Rusted Pins
One of the most common issues is finding a pin that’s stuck or rusted in place. In this case, a bit of penetrating oil or rust dissolver can help. Apply the oil to the pin, wait for it to penetrate and break down the rust, then try again. This may take a few attempts, but patience is key.
Risk of Handle or Blade Damage
Removing pins carries a risk of causing damage to the handle or the blade. To minimize this risk, always proceed slowly and carefully, and never use excessive force. Remember, it’s not a race. The goal is to remove the pin without damaging the knife.
Post-Removal Process of Knife Handle Pins
Once you’ve successfully removed the pins, you’re not quite done yet. It’s necessary to clean and inspect the knife to ensure it’s ready for further use or repair.
Cleaning the Knife
Use a soft cloth to clean the area around the pin holes. This removes any remaining debris or metal shavings. Cleaning the knife also gives you a chance to inspect the knife more closely.
Inspection for Damage
Take the time to thoroughly inspect the knife for any potential damage. Check the handle, especially around the pin holes, and the blade. If you find any damage, it’s important to address it immediately. Any small cracks could potentially worsen with use, leading to the handle breaking off entirely or the blade becoming loose.
Handling Disposed Pins
The pins you’ve removed should be disposed of safely. They’re small and sharp, and could cause injury if not handled correctly. Depending on the material of the pins, you may be able to recycle them. If not, make sure to dispose of them in a way that they won’t pose a risk to others.
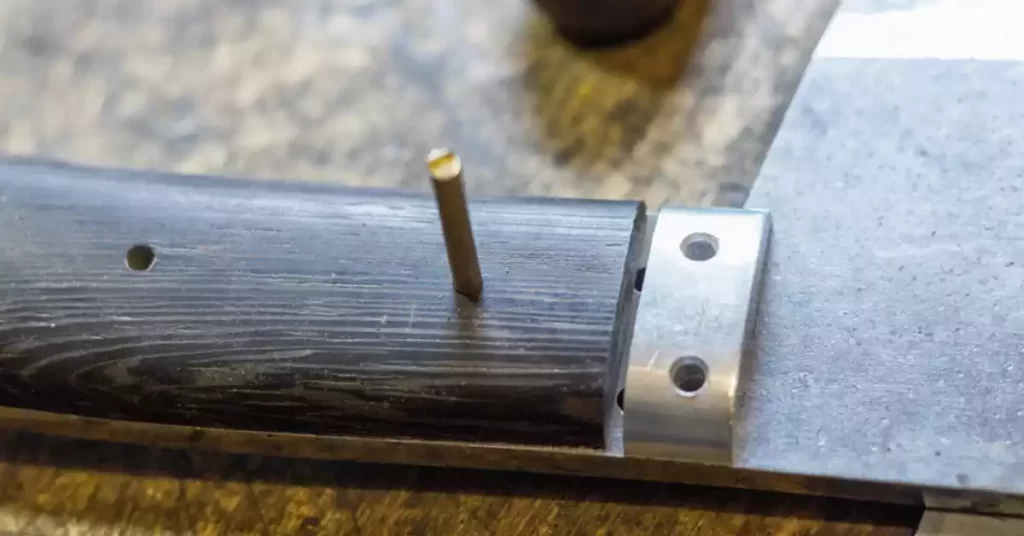
Replacing the Knife Handle Pins
After removing the old pins, you might want to replace them, either with similar ones or with an upgrade.
Selecting Replacement Pins
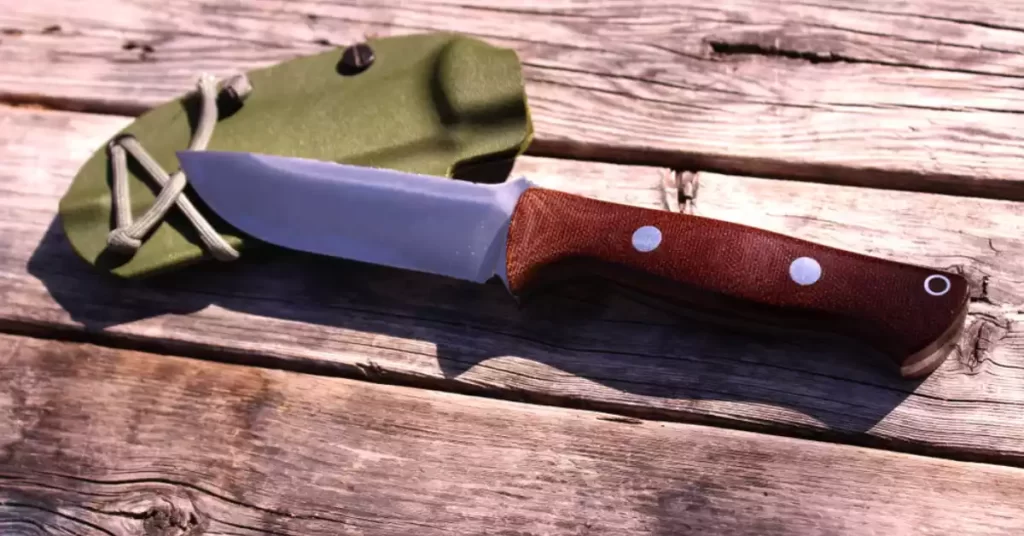
When selecting replacement pins, consider the size and material. The new pins should fit the existing holes closely. In terms of material, most knife handle pins are made of brass or stainless steel, but you can also find ones made of decorative materials like mosaic pins.
Process of Pin Installation
To install the new pins, you’ll need to align the handle pieces with the blade and insert the pins through the holes. You may need to lightly tap the pins into place using a hammer. Once in place, the pins should be peened or sanded down flush with the handle.
Frequently Asked Questions
Can I remove knife handle pins without special tools?
While it’s possible to use improvised tools, it’s not recommended. Using the wrong tools could lead to damage to the knife or personal injury.
What should I do if the pin is stuck and won’t budge?
If a pin is particularly stubborn, applying some penetrating oil or rust dissolver and letting it sit for a while can help loosen it. However, if it’s still not budging, it might be best to seek professional help.
Can I replace the handle pins with something other than pins?
Yes, it’s possible to use other types of fasteners like screws or rivets, as long as they fit the holes and securely attach the handle to the blade.
Conclusion
In the world of knife maintenance, the art of removing handle pins holds its own charm. It might seem like a challenging task at first, but with a little patience and the right tools, it’s a skill that you can master.
The successful removal of knife handle pins not only gives you a sense of accomplishment but also allows you to maintain or even improve the lifespan of your knives. From choosing the right tools to tackling stubborn pins and post-removal cleaning, every step is integral to the process.
To sum up, the key to smooth and successful pin removal lies in careful preparation, patience during the process, and thorough post-removal care. Mastering these steps will ensure your knife remains in the best possible shape for years to come.